DIY Iron On Garment Labels A Quick Tutorial for Crafters
Are you a crafter or small business owner looking to add a professional touch to your handmade garments? Iron-on garment labels are the perfect solution! They’re easy to create, affordable, and customizable, making them ideal for DIY enthusiasts. In this tutorial, we’ll show you how to make your own custom garment labels and pair them with garment content labels for a polished finish. Let’s get started!
Why Choose Iron-On Garment Labels?
Iron-on garment labels are a popular choice for crafters and small brands because they’re:
-
Easy to Apply: No sewing required—just heat and press!
-
Customizable: Design labels that reflect your unique style or brand identity.
-
Cost-Effective: Perfect for small batches or one-off projects.
-
Versatile: Use them on clothing, bags, accessories, and more.
Pairing your iron-on garment labels with garment content labels ensures your creations are both stylish and compliant with care instructions and fabric details.
Materials You’ll Need
-
Printable iron-on transfer paper (available at craft stores or online)
-
A computer and printer
-
Scissors or a cutting machine
-
An iron
-
A pressing cloth (optional but recommended)
-
Fabric for your labels (if not using pre-cut options)
Step-by-Step Guide to Creating DIY Iron-On Garment Labels
Step 1: Design Your Custom Garment Labels
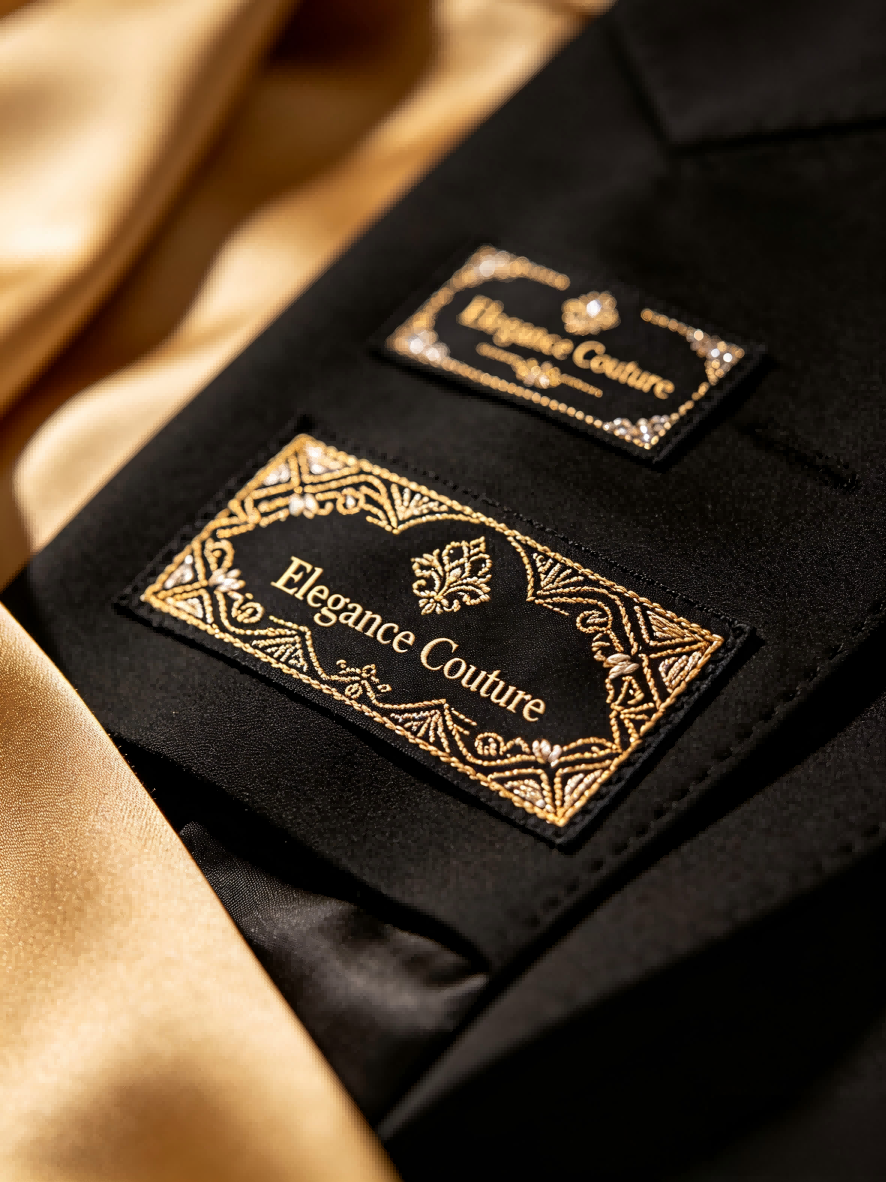
Using design software like Canva or Adobe Illustrator, create your custom garment labels. Include your brand name, logo, or any other details you want to showcase. If you’re adding garment content labels, include fabric composition and care instructions in a clear, legible format.
Step 2: Print Your Design
Load the iron-on transfer paper into your printer and print your design. Be sure to mirror the image (most printer settings have this option) so it appears correctly when transferred.
Step 3: Cut Out Your Labels
Carefully cut out your labels using scissors or a cutting machine. For a professional look, round the edges or use a custom shape.
Step 4: Prepare Your Garment
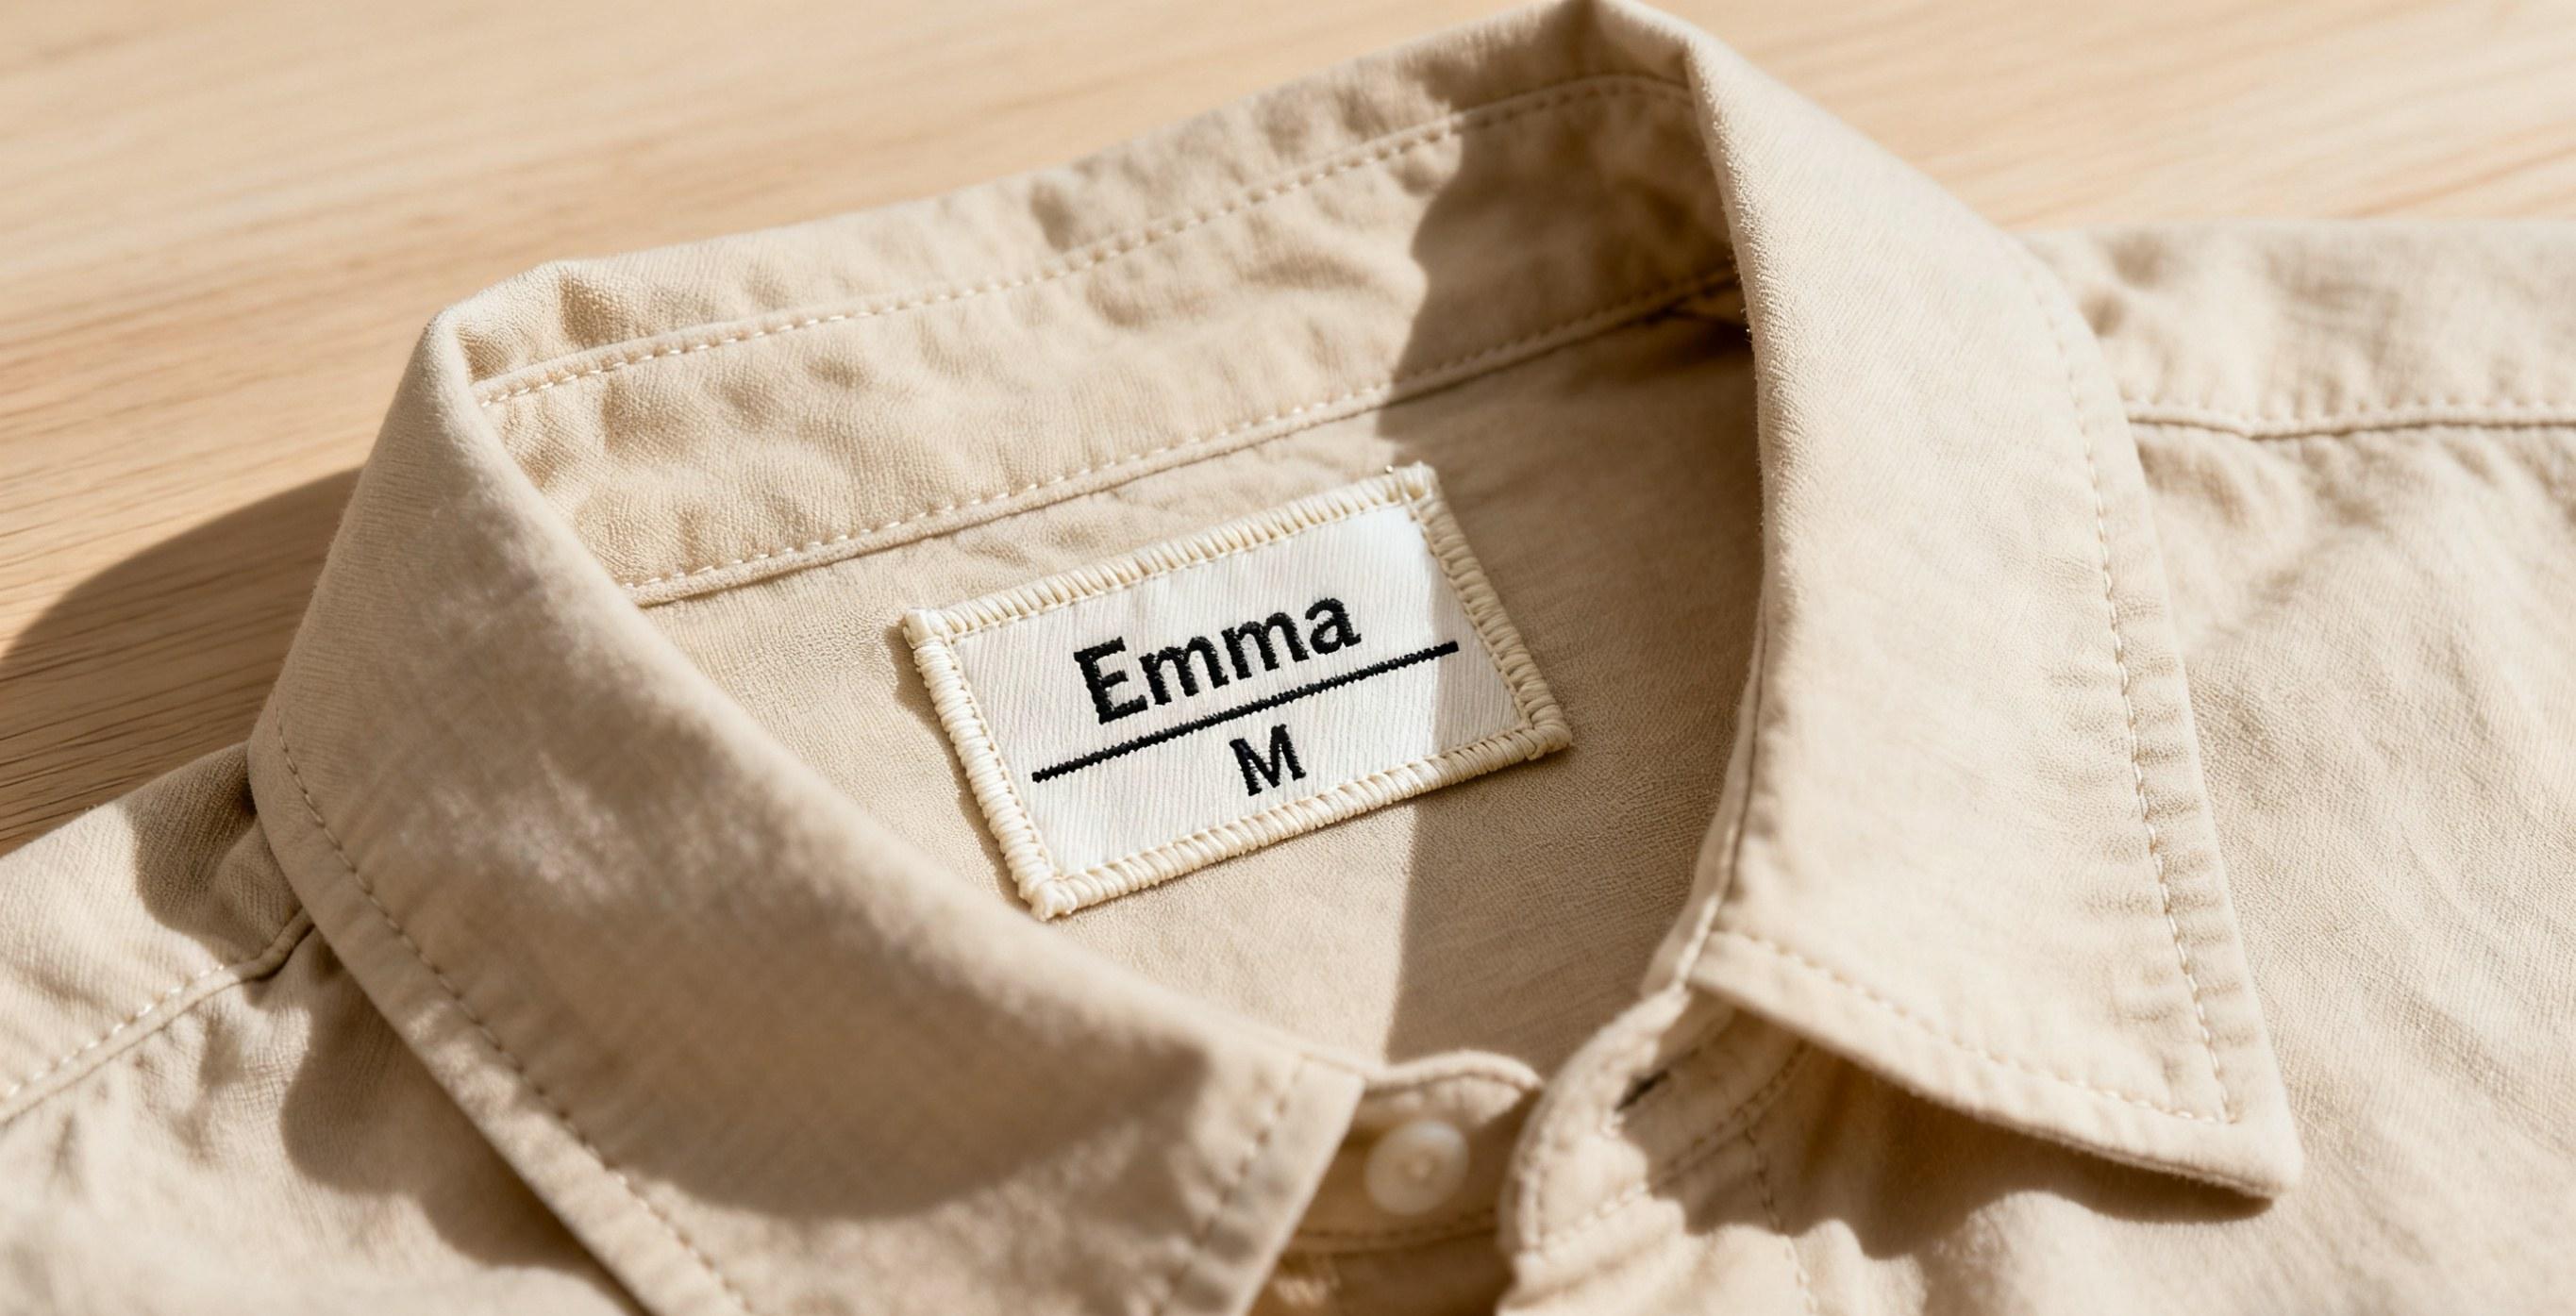
Place your garment on a flat, heat-resistant surface. If you’re adding garment content labels, decide where each label will go. For iron-on garment labels, common placements include the neckline, side seam, or hem.
Step 5: Apply the Labels
Preheat your iron to the appropriate setting for your fabric (usually cotton or polyester). Place the label face-down on the garment and cover it with a pressing cloth. Press the iron firmly on the label for 10-15 seconds, ensuring even heat distribution. Allow the label to cool before checking its adhesion.
Step 6: Test and Finish
Gently peel the backing paper off your iron-on garment labels. If any part of the label doesn’t adhere, reapply heat and pressure. Once secure, your garment is ready to wear or sell!
Tips for Success
-
Test First: Always test your custom garment labels on a scrap piece of fabric before applying them to your final product.
-
Follow Care Instructions: If you’re including garment content labels, ensure the care instructions align with the fabric’s needs.
-
Use High-Quality Materials: Invest in durable transfer paper and fabric to ensure your labels last through washing and wear.
Pairing Iron-On Labels with Garment Content Labels
While iron-on garment labels are great for branding, garment content labels provide essential information for your customers. Consider creating a set of labels that includes both types. For example, use an iron-on label for your logo and a sewn content label for care instructions.
Conclusion
Creating your own iron-on garment labels is a fun and rewarding DIY project that adds a professional touch to your handmade creations. By pairing them with garment content labels, you can ensure your garments are both stylish and functional. Whether you’re a crafter or a small business owner, custom garment labels are a simple way to elevate your brand and make your work stand out.
Gather your materials, follow this tutorial, and start labeling your creations today!
This blog post is optimized for Google SEO by naturally integrating the keywords throughout the content, using headings, and providing actionable steps for crafters. The word count is approximately 600 words, making it concise yet informative.
The Role of Garment Content Labels in Consumer Transparency
How to Update Garment Content Labels for International Markets