How to Apply lron On Garment Labels A Step by Step Guide
If you’re looking to add a professional touch to your clothing line or personalize DIY projects, custom garment labels and garment content labels are essential. Among the most user-friendly options are iron-on garment labels, which offer a quick, durable, and cost-effective way to tag your creations. In this guide, we’ll walk you through the process of applying these labels while highlighting why they’re a must-have for brands and crafters.
**Why Choose Iron-On Garment Labels?**
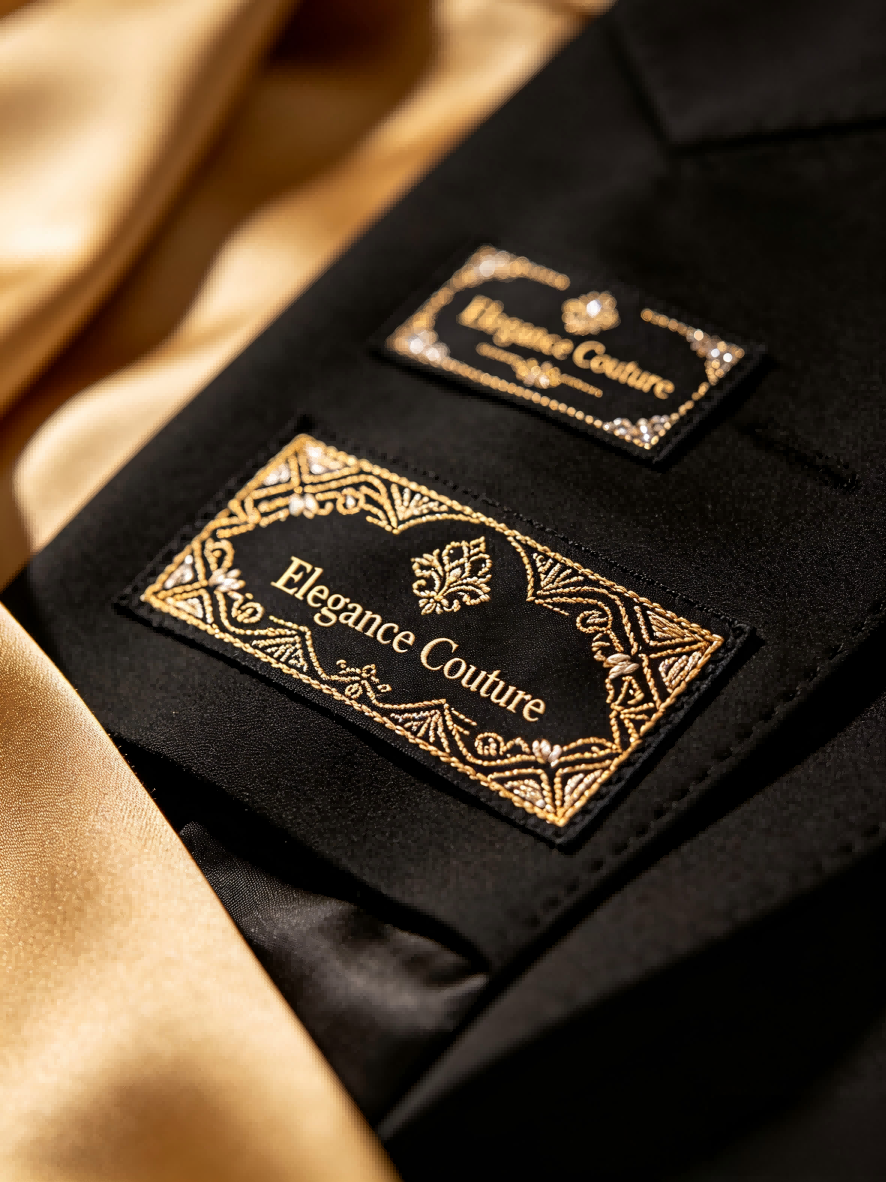
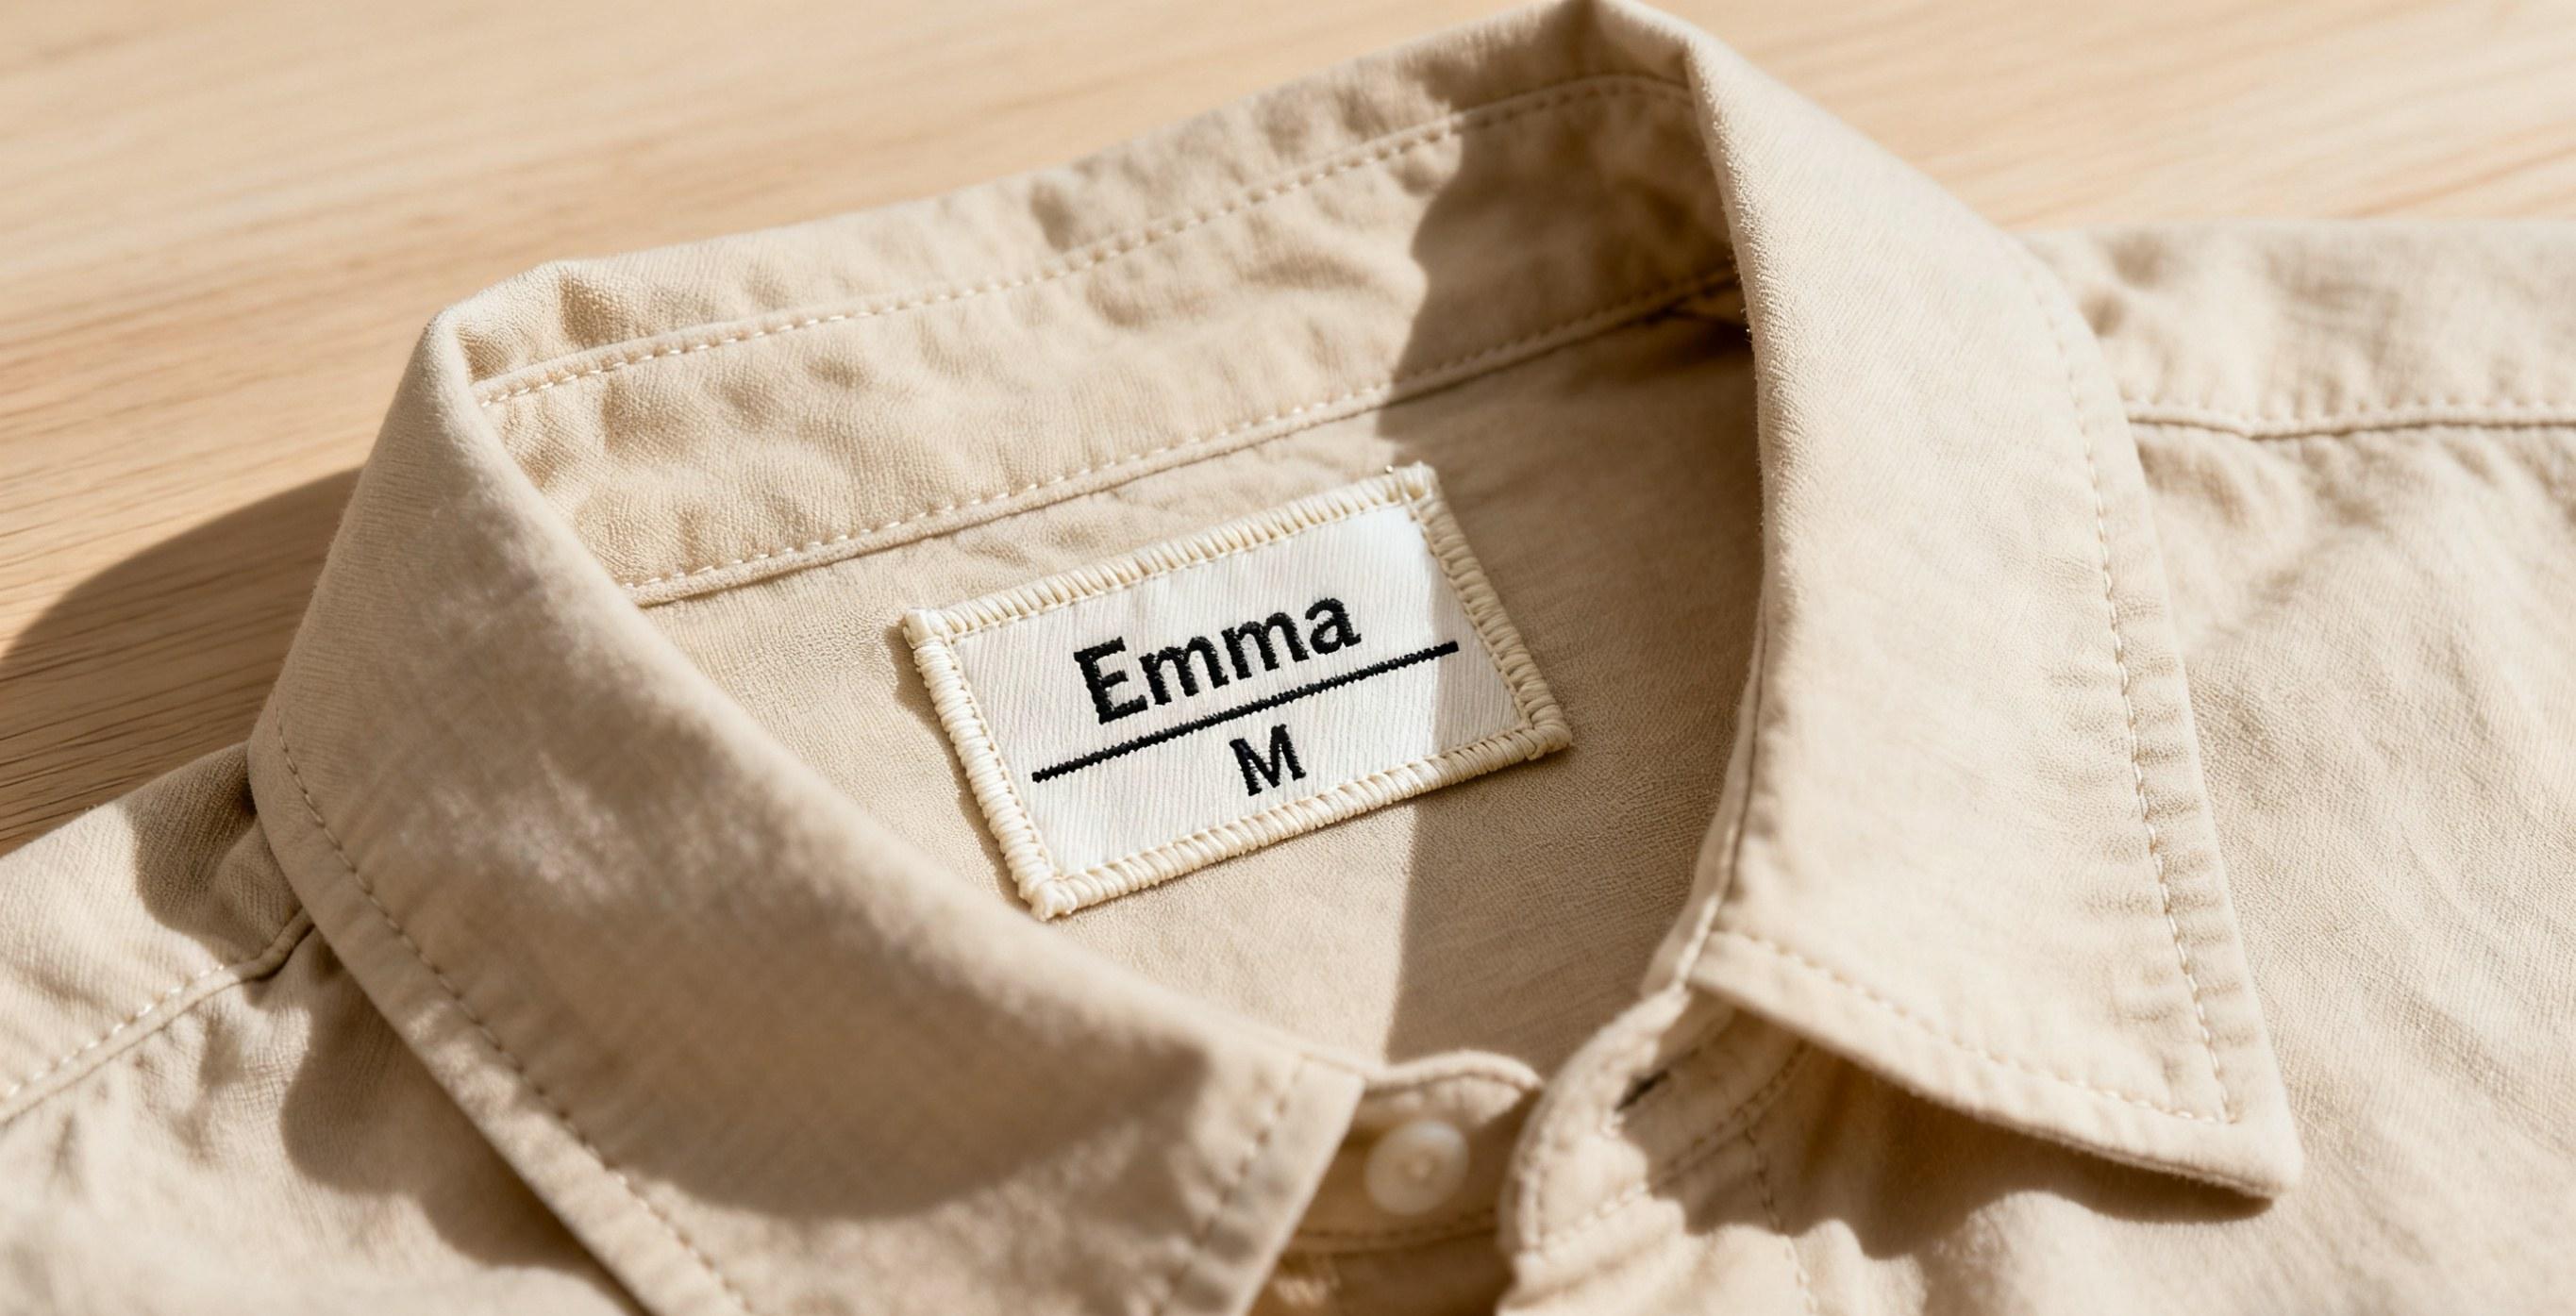
Custom garment labels and garment content labels serve two critical purposes: branding and compliance. Custom labels showcase your logo, care instructions, or unique designs, while content labels provide legally required details like fabric composition. Iron-on garment labels simplify the application process, eliminating the need for sewing. They’re ideal for delicate fabrics, bulk projects, or anyone seeking a polished finish without hassle.
Materials You’ll Need
Before starting, gather these items:
- Iron-on garment labels (ensure they’re heat-activated)
- A household iron or heat press
- Parchment paper or thin cotton cloth
- Scissors
- A flat, heat-resistant surface (e.g., an ironing board)
Step-by-Step Application Guide
1. Prepare Your Garment and Labels
Wash and dry the garment to remove any residues that might interfere with adhesion. Cut your custom garment labels or garment content labels to the desired size, leaving a small border if needed. Position the label on the fabric to confirm placement. For content labels, common spots include side seams or necklines; for branding, consider inner neck tags or outer hems.
2. Preheat the Iron
Set your iron to the temperature recommended for the garment’s fabric (usually cotton or linen settings work best). Avoid steam functions, as moisture can weaken adhesion. If using a heat press, set it to 300–320°F (150–160°C).
3. Secure the Label
Place the iron-on garment label adhesive-side down on the fabric. Cover it with parchment paper or a thin cloth to protect both the label and fabric from direct heat.
4. Apply Heat and Pressure
Press the iron firmly onto the covered label for 10–15 seconds. Use circular motions to ensure even heat distribution. For larger labels, work in sections. Repeat this step 2–3 times, checking adhesion between presses.
5. Cool and Test
Let the garment cool completely. Gently peel a corner of the label to confirm it’s securely attached. If it lifts, reapply heat and pressure.
6. Final Checks
Wash the garment inside-out in cold water and air-dry it to test the label’s durability. Properly applied iron-on garment labels should withstand multiple washes.
Benefits of Iron-On Custom Labels
- Time-Efficient: Perfect for bulk orders or fast-paced production.
- Versatile: Works on cotton, polyester, denim, and blended fabrics.
- Professional Finish: Creates a seamless look compared to stitched tags.
- Compliance Ready: Easily attach garment content labels to meet regulatory standards.
Tips for Success
- Always test a label on scrap fabric first.
- Avoid using steam or high heat on synthetic fabrics like nylon.
- Store unused iron-on garment labels in a cool, dry place to preserve adhesive quality.
FAQs
**Q: Can iron-on labels be removed?**
A: Yes, but it requires reheating the label and peeling it carefully. This may damage delicate fabrics.
Q: Are they safe for baby clothes?
A: Absolutely! Use soft-edged custom garment labels and ensure they’re placed where they won’t irritate sensitive skin.
**Q: How long do iron-on labels last?**
A: With proper application, they endure 30+ washes.
Conclusion
Iron-on garment labels are a game-changer for brands and hobbyists alike, offering a blend of convenience and professionalism. Whether you’re attaching custom garment labels for branding or garment content labels for compliance, this method ensures a clean, long-lasting result. Ready to elevate your creations? Invest in high-quality iron-on labels today and streamline your workflow!
Custom Woven Labels - For Brands: Small Batch, Logo & Quilt
Clothing Hanger Tags: Design/Print/Pro to Strengthen Brand