DIY Embossed Hang Tags: Step-by-Step Printing Techniques
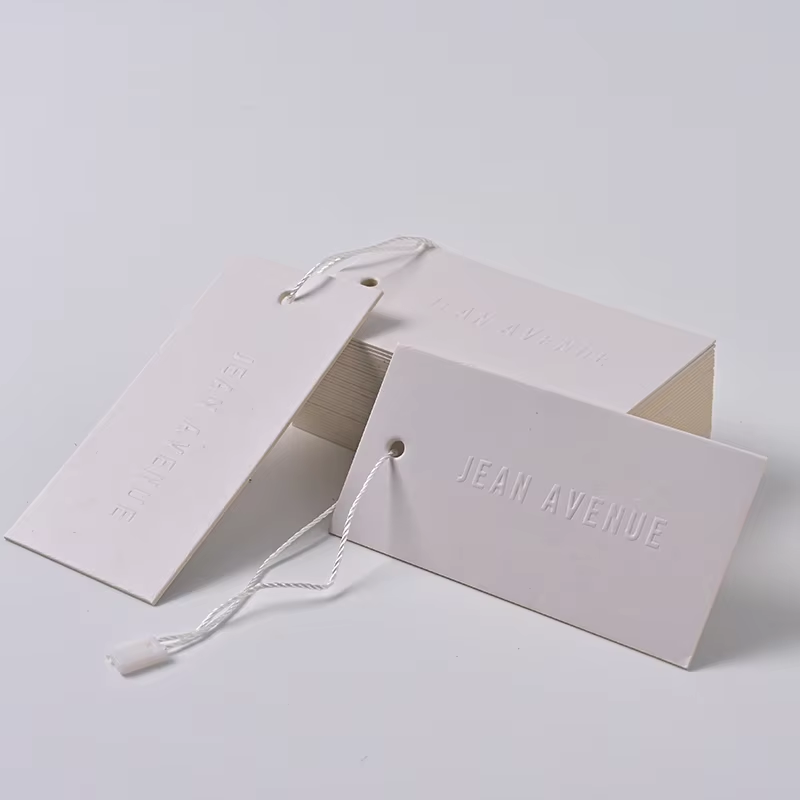
Creating embossed hang tags at home allows small businesses and crafters to add a luxury touch to their packaging without high costs. While folded hang tags excel at delivering detailed information, embossed designs elevate branding with tactile elegance. In this guide, you’ll learn how to craft professional-quality embossed hang tags using accessible tools, and discover when to upgrade to hang tag printers for scalability.
Materials You’ll Need
- Cardstock or Heavyweight Paper (250-300gsm for durability).
- Embossing Folders (metal or plastic templates for raised patterns).
- Manual Embossing Machine (e.g., Sizzix Big Shot) or Heat Embossing Tools (stamps, embossing powder, heat gun).
- Ink Pads (pigment ink for clear impressions).
- Cutting Tools (scissors, craft knife, or Cricut Maker for precision).
- Hole Punch & String (ribbon or twine for attaching tags).
Step 1: Design Your Embossed Hang Tags
- Software: Use Canva or Adobe Illustrator to create a minimalist design. Focus on:
- Logo Placement: Center-align logos for optimal embossing impact.
- Negative Space: Avoid clutter; embossing works best with bold, simple shapes.
- Template Size: Standard sizes are 2”x3” (single-layer) or 3”x4” (for hybrid folded hang tags with embossed covers).
Pro Tip: If designing folded hang tags, reserve the front panel for embossing and inner panels for text/QR codes.
Step 2: Print Your Base Design
- Home Printers: Use an inkjet or laser printer to transfer designs onto cardstock. Let ink dry completely.
- Printer Settings: Select “high-quality” or “cardstock” mode to prevent smudging.
- Alternative: Order pre-printed blanks from hang tag printers like Vistaprint for crisper text.
Step 3: Emboss Using Manual Tools
Option A: Embossing Folders + Manual Machine
- Place your printed tag inside an embossing folder.
- Run it through a manual embossing machine (e.g., Sizzix Big Shot) to press the design.
- Gently remove the tag—the raised pattern will now be visible.
Best For: Repeating geometric patterns or borders.
Option B: Heat Embossing
- Stamp your design onto the tag using pigment ink.
- Sprinkle embossing powder over the wet ink, then tap off excess.
- Use a heat gun 2-3 inches away to melt the powder into a glossy, raised finish.
Best For: Detailed logos or handwritten text.
Step 4: Add Finishing Touches
- Foil Accents: Apply adhesive foil sheets to embossed areas using a laminator or bone folder.
- Edge Coloring: Use metallic markers to highlight embossed edges.
- Hybrid Designs: Pair embossed hang tags with folded hang tags by attaching them back-to-back for a multi-functional tag.
Step 5: Cut and Assemble
- Hand Cutting: Use a craft knife and ruler for straight edges.
- Die-Cutting Machines: For intricate shapes, load designs into a Cricut or Silhouette Cameo.
- Hole Punching: Add a hole at the top using a 1/8” punch, then thread with ribbon.
When to Upgrade to Hang Tag Printers
While DIY methods work for small batches, hang tag printers streamline production for larger orders:
| Scenario | DIY Approach | Printer Solution |
|---|---|---|
| **<50 Units** | Manual embossing | Not needed |
| 50-200 Units | Hybrid (DIY + digital printer) | Roland BN-20A for print + cut |
| 200+ Units | Industrial embossing | Koenig & Bauer with embossing unit |
Key Benefits of Printers:
- Speed: Produce 500+ embossed hang tags per hour.
- Consistency: Eliminate uneven pressure from manual embossing.
- Complexity: Combine embossing with foil stamping or UV coating.
Cost Comparison: DIY vs. Professional Printers
| Method | Cost per 100 Tags | Time per 100 Tags |
|---|---|---|
| DIY Embossing | 15−30 | 4-6 hours |
| Desktop Printer | 50−80 | 2-3 hours |
| Industrial Printer | 20−40 | 30 minutes |
Note: For folded hang tags, industrial hang tag printers reduce costs by 40% compared to DIY folding.
SEO Tips for DIY Craft Content
To rank for “DIY embossed hang tags” or “how to emboss tags”:
- Keyword Density: Use “embossed hang tags” 10-12x, “folded hang tags” 3-4x, and “hang tag printers” 5-6x.
- Visual Content: Embed videos showing embossing techniques and link to printer reviews.
- Long-Tail Keywords: Target phrases like “affordable embossing tools for small businesses” or “best printers for homemade tags.”
Conclusion
DIY embossed hang tags offer a budget-friendly way to experiment with luxury packaging. By mastering heat embossing, manual machines, and smart design choices, you can create tags that rival professional prints. As your brand grows, transition to hang tag printers for faster, scalable production—while still reserving DIY methods for limited editions or personalized touches.
Ready to start? [Download our free embossing template pack] or [explore desktop printers] perfect for small studios!
Folded Hang Tag Printing: Best Materials for Durable Tags
Folded Hang Tags: Creative Uses in Retail & Event Packaging