DIY Embroidered Garment Labels: Step-by-Step Guide
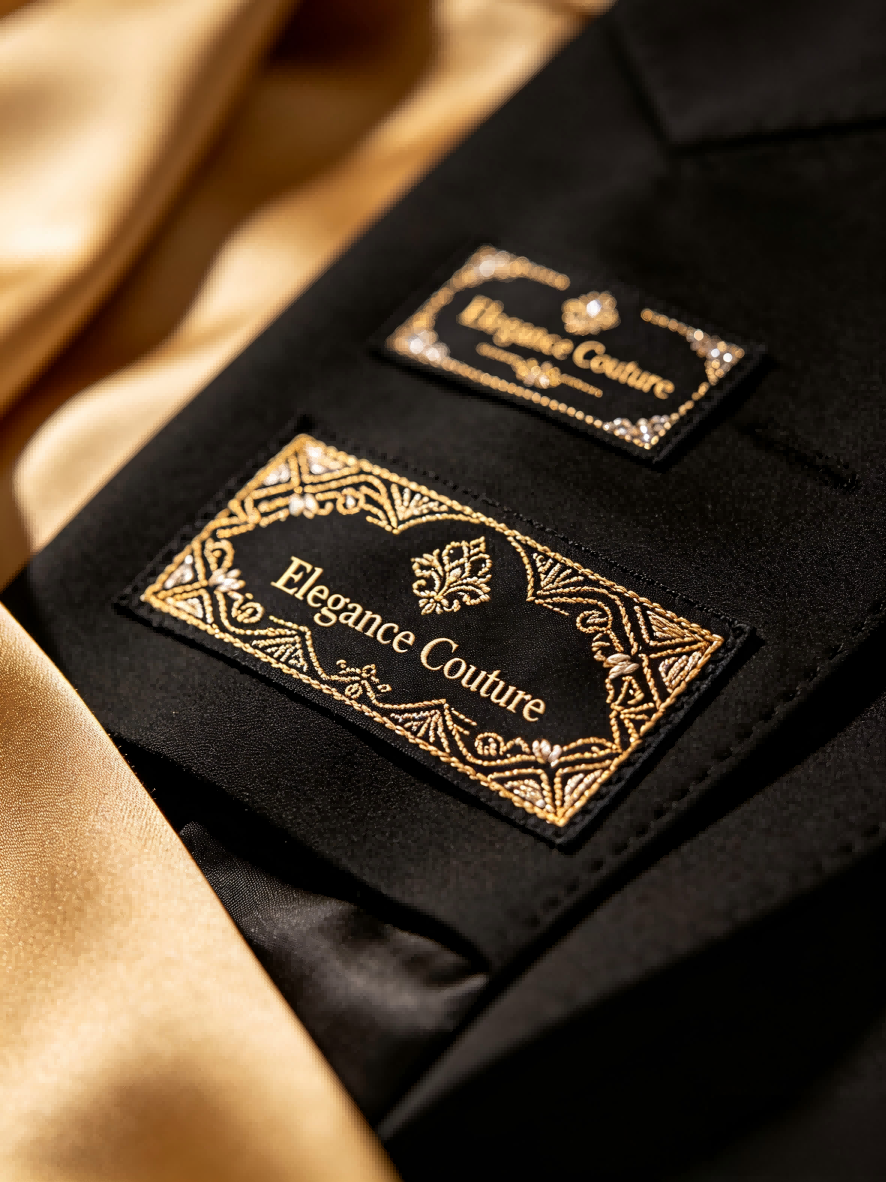
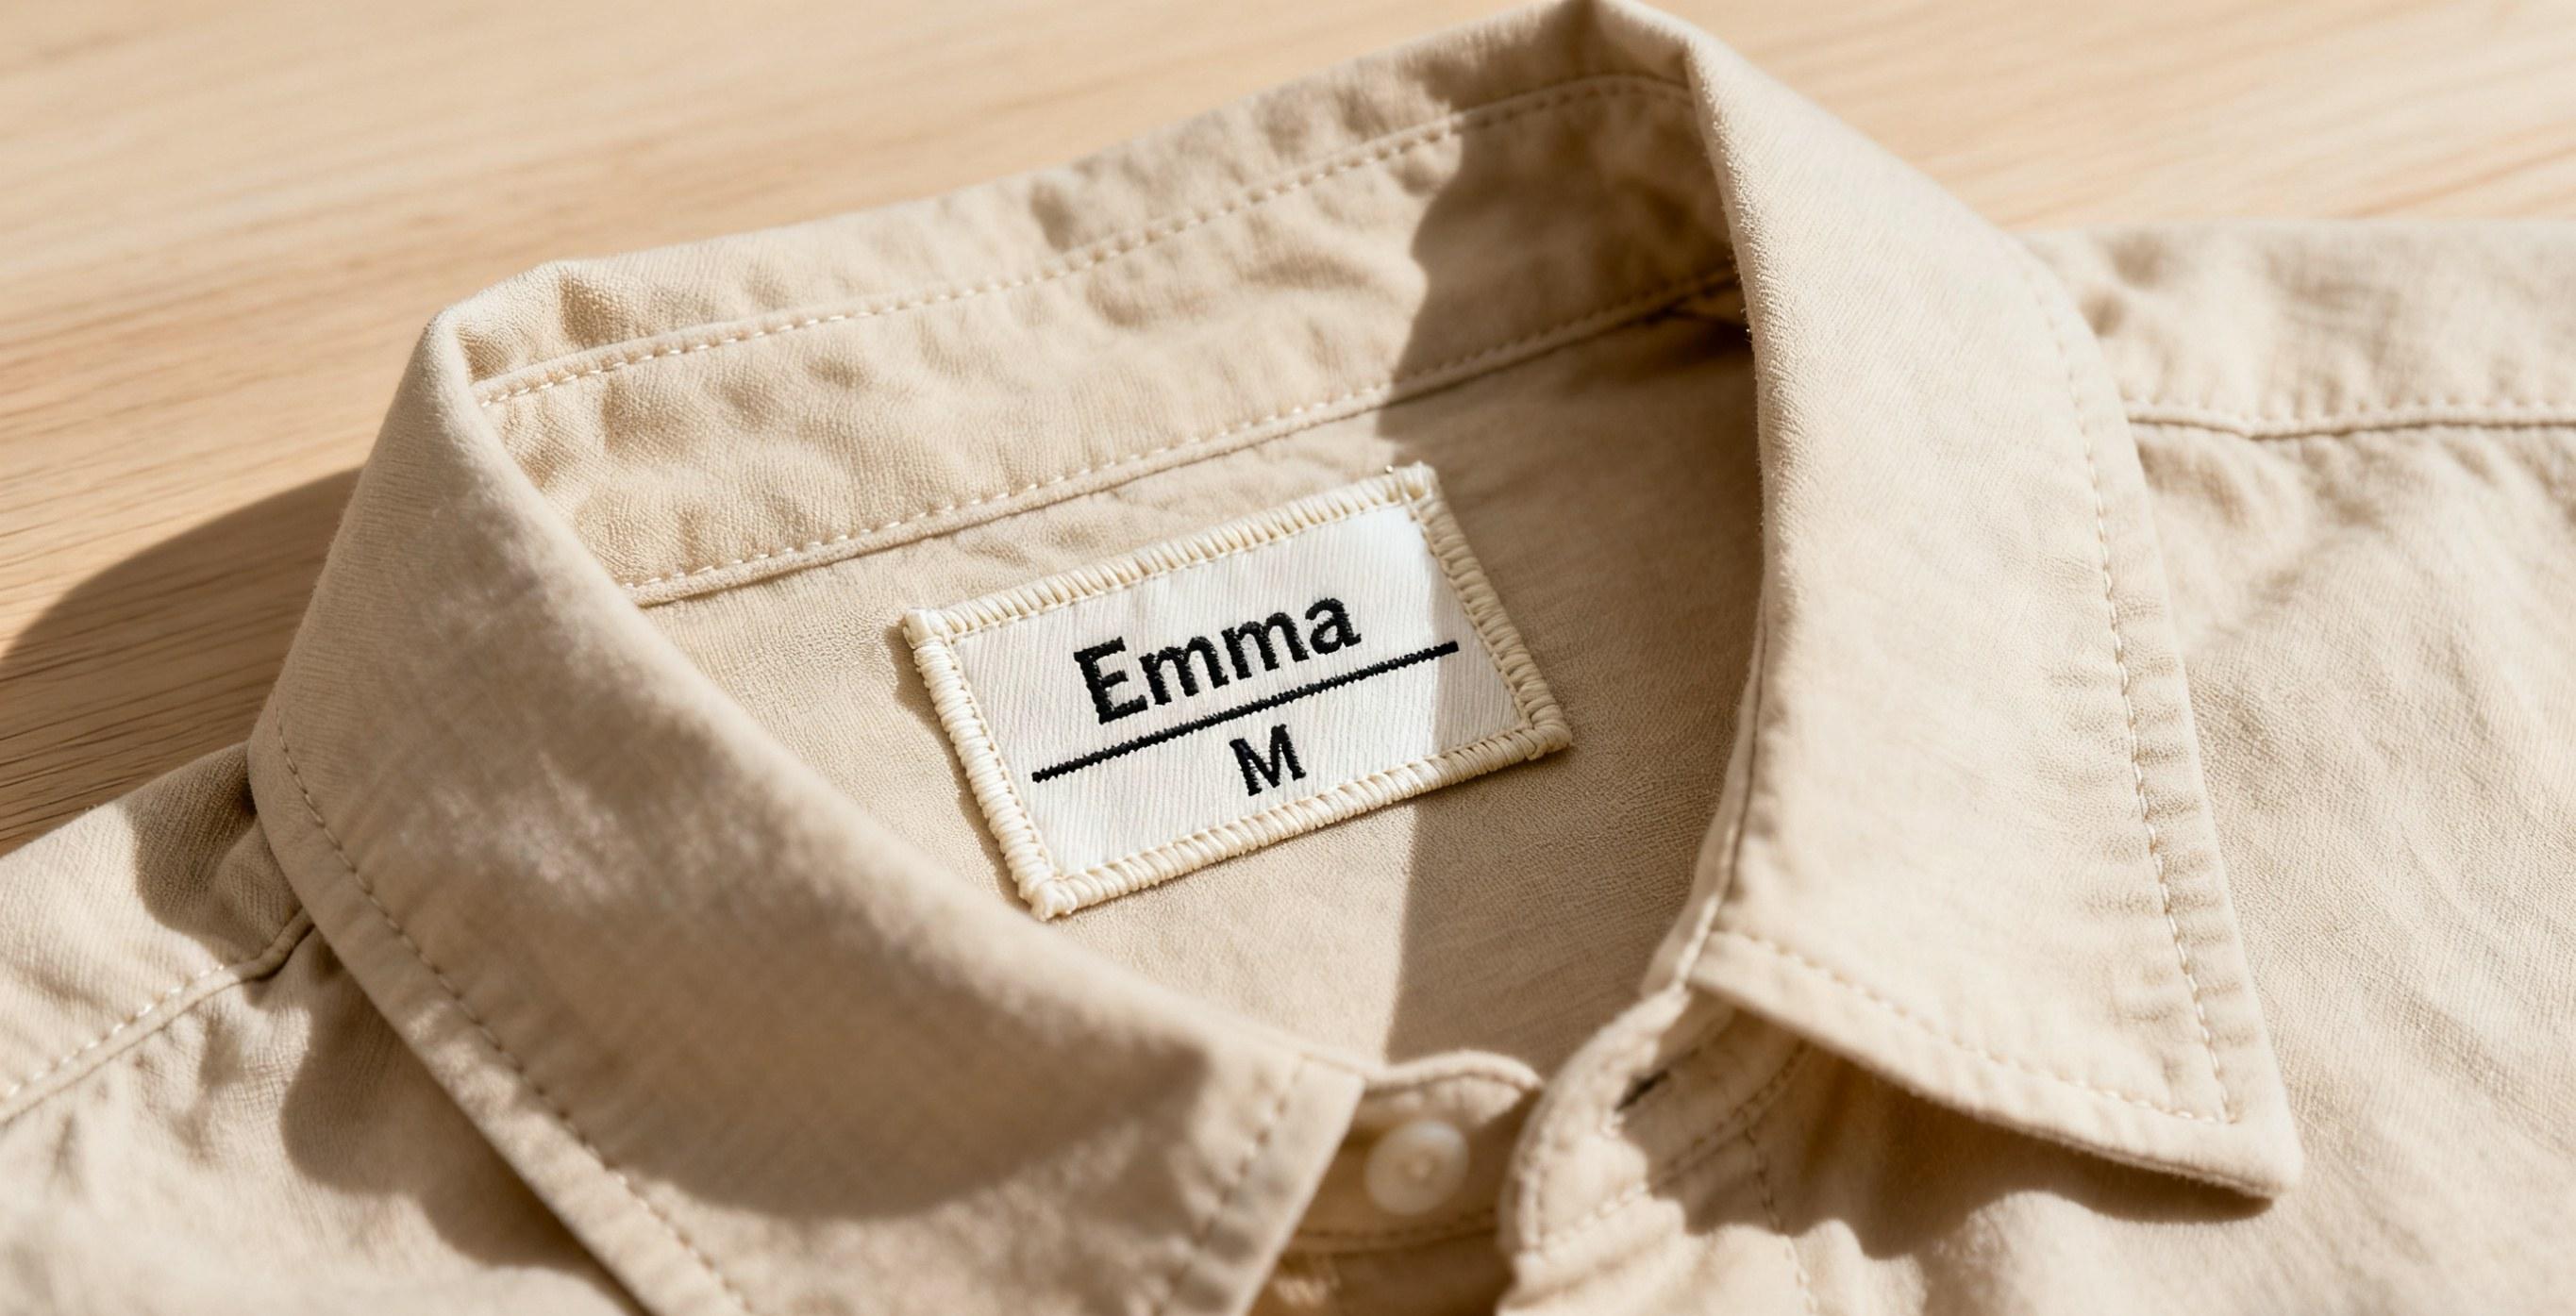
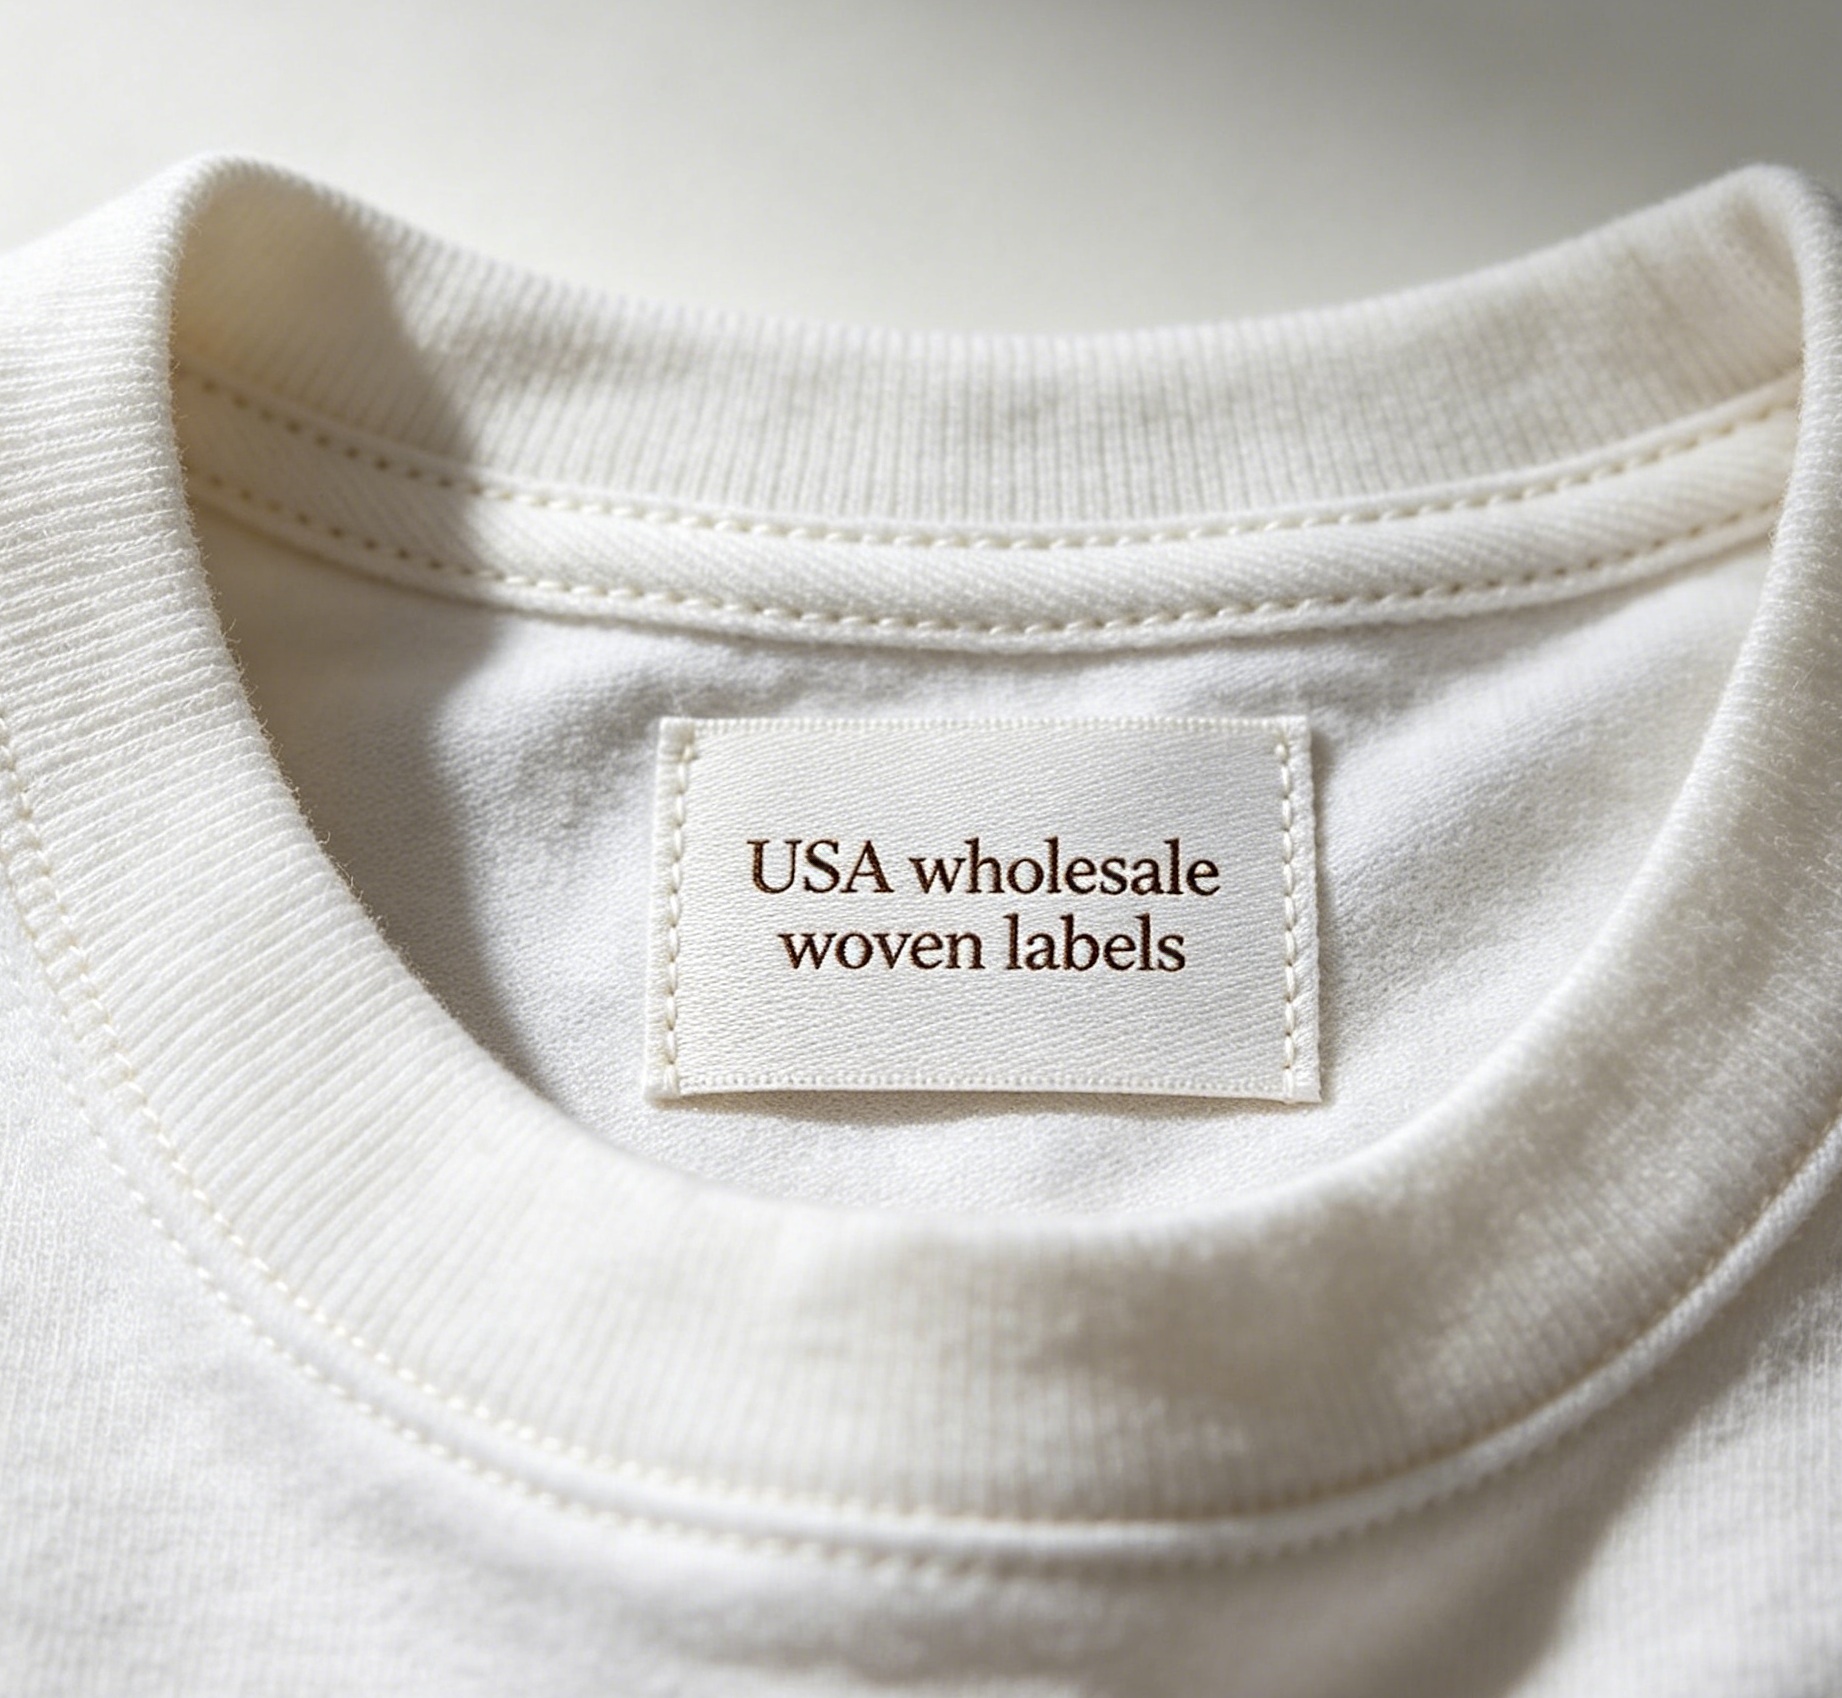
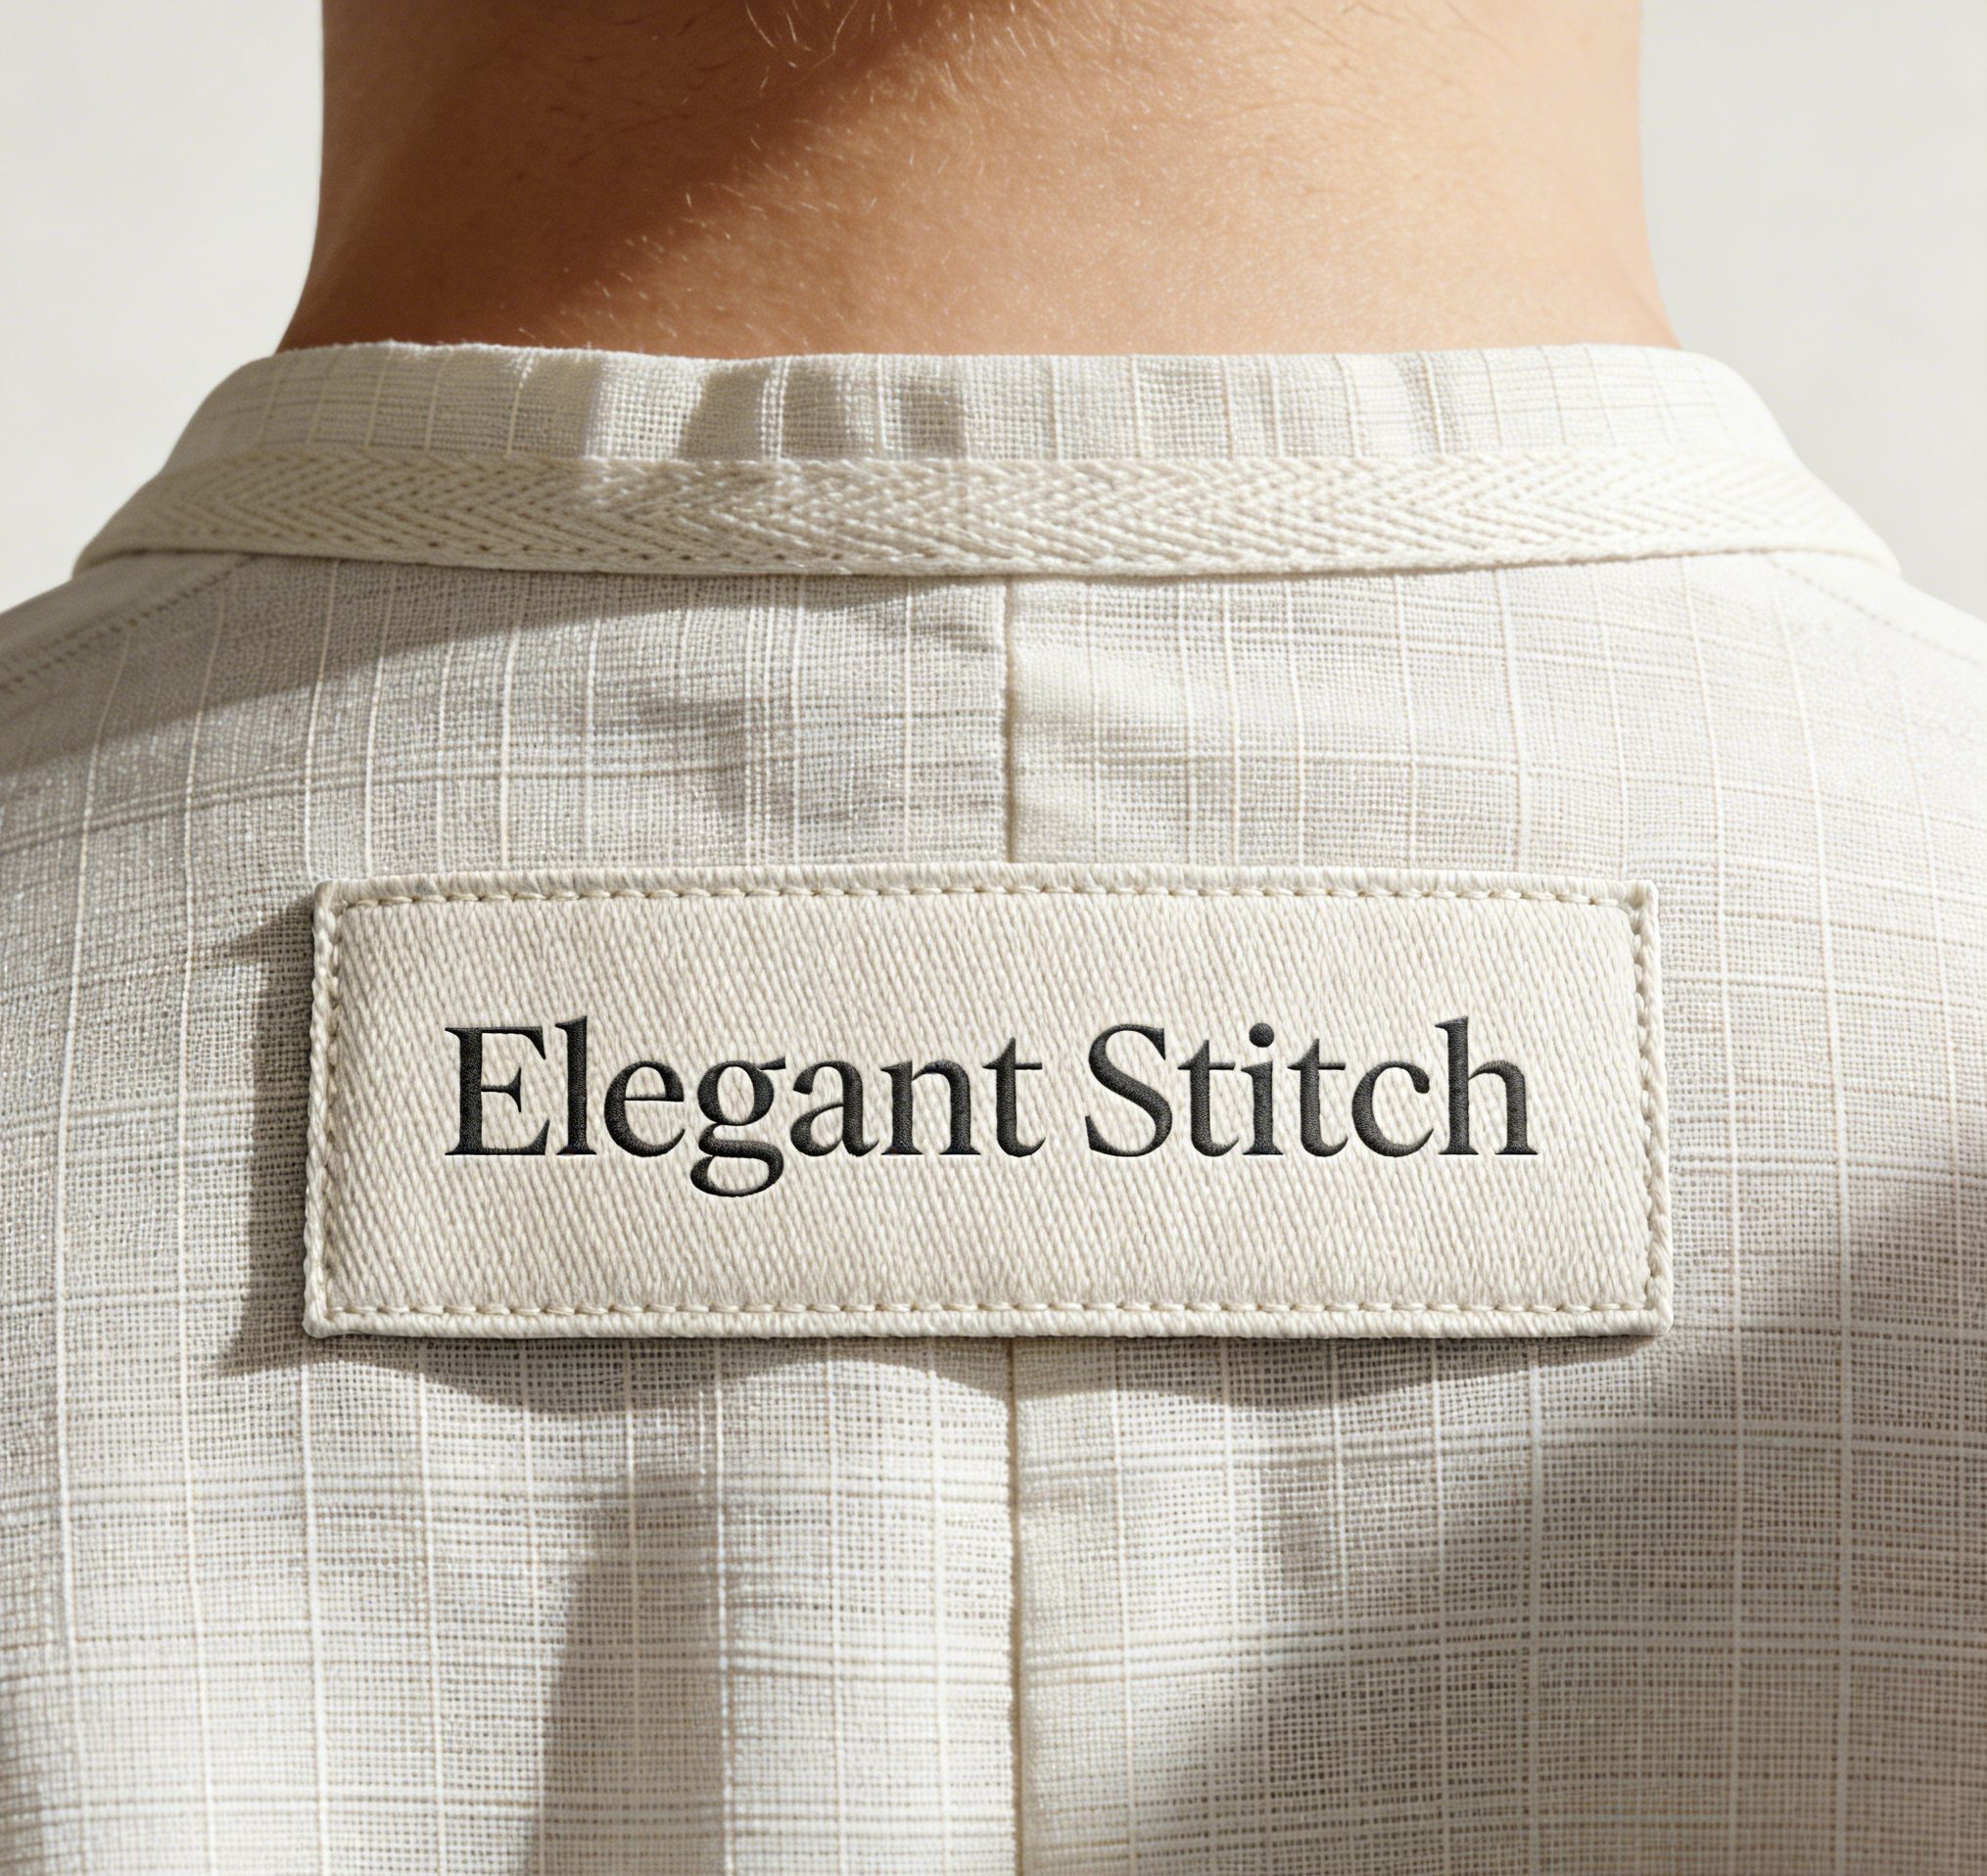
Adding embroidered garment labels to your clothing is a creative way to personalize your designs, reinforce brand identity, or simply add a unique touch to handmade items. Whether you’re a fashion designer, crafter, or small business owner, creating custom embroidered garment labels allows you to showcase your style while ensuring durability and professionalism. In this step-by-step guide, we’ll walk you through crafting your own embroidered garment labels, garment label tags, and garment fabric labels using simple materials and techniques.
Step 1: Design Your Embroidered Garment Label
Start by sketching your design. Decide on the text, logo, or pattern you want to embroider. For embroidered garment labels, keep designs simple to ensure clarity and ease of stitching. Popular choices include brand names, slogans, or minimalist graphics. Use design software or free tools like Canva to refine your artwork, ensuring it’s sized appropriately for your garment fabric labels (typically 1–3 inches wide). Export your design as a high-resolution image for reference.
Step 2: Gather Materials
To create durable embroidered garment labels, gather these essentials:
- Garment Fabric Labels: Choose a sturdy, smooth fabric for your base. Cotton, polyester, or satin work well. Avoid stretchy materials to maintain embroidery integrity.
- Embroidery Floss or Thread: Opt for high-quality, fade-resistant threads in your desired colors. Polyester or rayon threads are ideal for durability.
- Embroidery Needles: Select a needle with an eye large enough to thread your floss.
- Scissors, Fabric Marker, and Hoop: A hoop will keep your fabric taut while stitching.
- Iron-On Adhesive (Optional): For attaching labels to garments without sewing.
Step 3: Prepare Your Fabric
Cut your garment fabric labels to the desired size, leaving a small border for stitching. Iron the fabric to remove wrinkles. If using an iron-on adhesive, apply it to the back of the fabric now, following the manufacturer’s instructions. Secure the fabric in an embroidery hoop, ensuring it’s tight to prevent puckering.
Step 4: Transfer Your Design
Using a fabric marker or water-soluble transfer pen, trace your design onto the fabric. Alternatively, place your printed design under the fabric and trace it with a lightbox. For intricate embroidered garment labels, consider using a stabilizer behind the fabric to support the stitching and prevent distortion.
Step 5: Start Embroidery
Begin stitching your design using your chosen embroidery technique. Common stitches for embroidered garment labels include:
- Backstitch: Ideal for outlining text or shapes.
- Satin Stitch: Fills in solid areas for bold designs.
- French Knots: Add texture for decorative elements.
Take your time to ensure even tension and neat stitches. For garment label tags or garment fabric labels that require durability, reinforce stitching by going over lines multiple times. Trim excess threads as you work.
Step 6: Finish the Label
Once your embroidery is complete, remove the fabric from the hoop. Trim any excess fabric around the label, leaving a 1/8-inch border. If you’re creating garment label tags, consider adding a small loop of thread or ribbon for easy attachment. For embroidered garment labels meant to be sewn into clothing, fold the edges under and secure them with a zigzag stitch or fabric glue to prevent fraying.
Step 7: Attach the Label to Your Garment
There are two common ways to attach embroidered garment labels:
- Sewing: Use a needle and thread to stitch the label securely onto the garment, such as inside the collar or on a seam.
- Iron-On Adhesive: If your fabric has adhesive backing, simply iron the label onto the desired spot, following heat settings recommended for your fabric type.
Tips for Professional Results
- Test Stitches First: Practice your design on a scrap piece of fabric to perfect your technique.
- Choose the Right Thread: Match thread color to your fabric for a seamless look or contrast for bold statements.
- Reinforce Durability: For garment fabric labels that will be washed frequently, use polyester thread and reinforce stitching.
Elevate Your Creations with DIY Embroidered Labels
Creating embroidered garment labels, garment label tags, and garment fabric labels allows you to add a personal, professional touch to your clothing or brand. By following these steps, you can craft unique labels that reflect your style, withstand wear, and make a lasting impression. Whether you’re customizing a single piece or launching a line of branded apparel, DIY embroidery offers endless possibilities to showcase your creativity. Start stitching today and watch your garments stand out with beautiful, handmade labels!
Release time: 2025-03-25
Garment Label Tags: Essential Features for Modern Brands
Choosing the Right Garment Fabric Labels for Durability
Related blog